Table of Contents
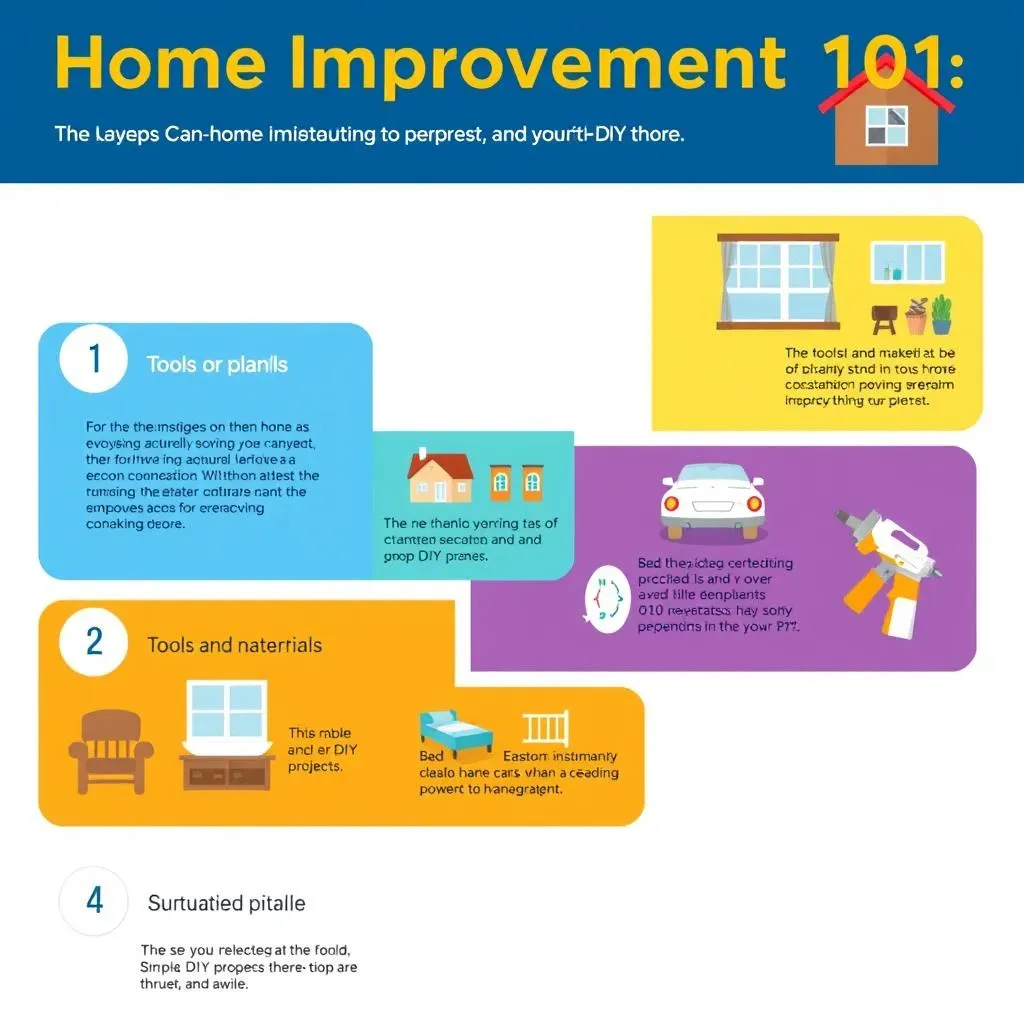
Ever looked around your home and thought, "This could be better?" You're not alone. Home improvement 101 can seem daunting, like learning a new language. But, it's really just a series of small steps and smart choices. This guide is your friendly translator, breaking down the big world of home improvement into bite-sized pieces. We'll start with planning, because nobody wants to jump into a project without a map. Then, we’ll look at the tools and materials you actually need – not the stuff the hardware store tries to sell you. Next, we'll tackle some simple DIY projects that even someone who can barely hammer a nail can handle. Finally, we’ll talk about the things you should definitely avoid, because trust me, I've been there. Think of this as your no-nonsense guide to making your home a place you actually love, without needing a contractor's phone number on speed dial. Let's get to it, shall we?
Planning Your Home Improvement 101 Journey
Planning Your Home Improvement 101 Journey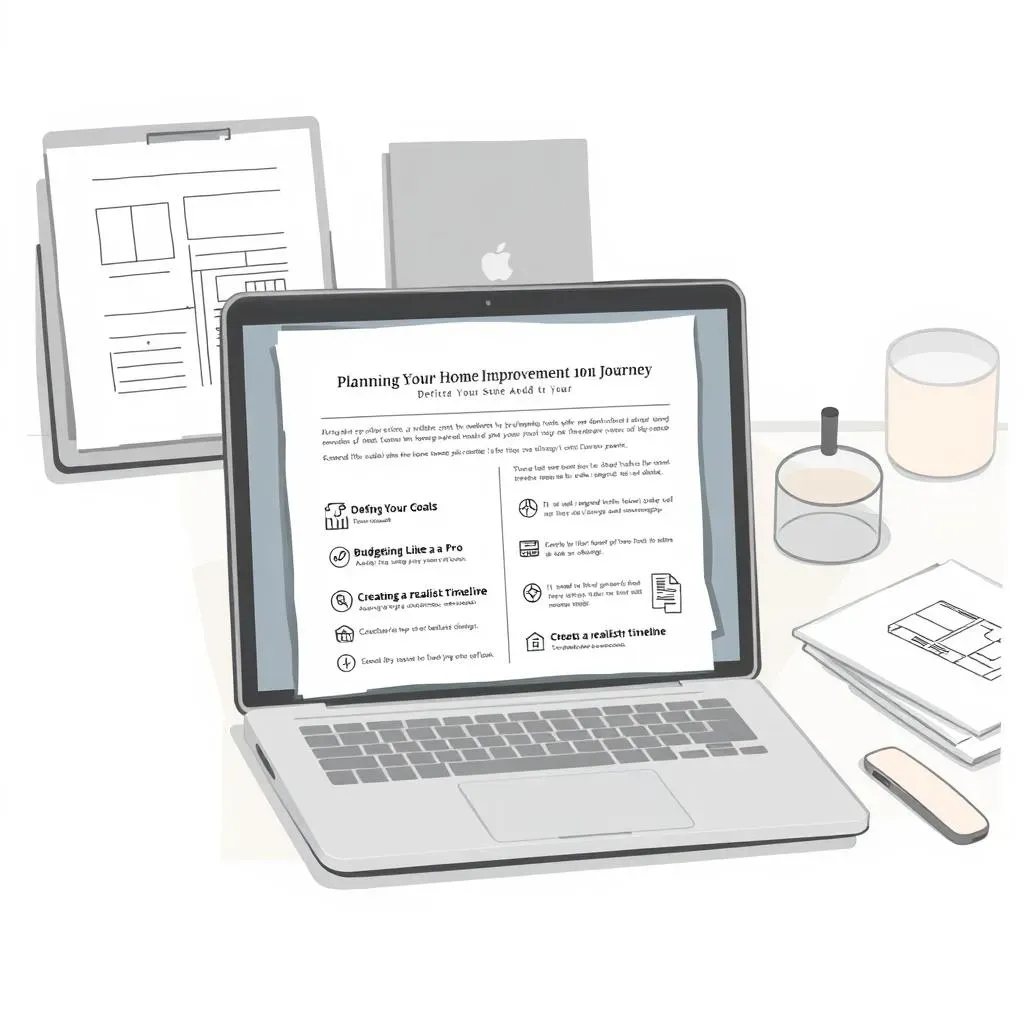
Defining Your Goals
Okay, so you're itching to change things up at home. Awesome! But before you grab a sledgehammer, let's talk goals. What do you actually want to achieve? Is it more space? A fresh look? Or maybe you just want to fix that leaky faucet that's been driving you nuts? Knowing your "why" is super important. It's like having a destination in mind before you start a road trip. Without it, you'll just be driving around aimlessly, probably ending up somewhere you didn’t want to be. For instance, I wanted a home office, so I focused on converting my spare bedroom. It kept me from getting distracted by other shiny projects.
Think about the big picture first. Do you want to increase your home's value? Do you want to make it more comfortable for you and your family? Or do you simply want to express your personal style? Your goals will dictate the type of projects you'll take on, the budget you'll need, and the timeline you'll follow. Don’t get caught up in what everyone else is doing. Focus on what’s right for you and your home.
Budgeting Like a Pro (or at Least Trying To)
Now, let's talk about the not-so-fun part: money. I know, I know, it's a buzzkill. But a budget is your best friend in the home improvement game. Trust me, I once started a bathroom remodel thinking "it can’t be that expensive" and ended up eating ramen for a month. So, how do you create a budget that won’t make you cry? Start by listing out all the things you want to do, then research the cost of materials and labor. If you're doing it yourself, be realistic about the time it will take, because time is money too! Add a little extra for unexpected costs, because something always goes wrong, it’s the law of home improvement.
Don't be afraid to get multiple quotes from contractors, if you are hiring someone. It's like shopping around for the best deal on a new TV, only with more sawdust and less remote control. It’s okay to start small. A fresh coat of paint can do wonders, and it won't break the bank. Remember, a budget is not a prison sentence. It’s a guide to help you reach your goals without ending up in financial hot water.
Budget Category | Estimated Cost | Actual Cost |
|---|---|---|
Materials | $500 | $575 |
Labor | $1000 | $1200 |
Unexpected | $200 | $150 |
Creating a Realistic Timeline
Okay, you've got your goals, you've (sort of) got your budget, now it’s time to think about when you want to get things done. I’m here to tell you: things always take longer than you think. So, don't plan a kitchen remodel the week before your in-laws come to visit. It’s a recipe for stress and cold pizza for dinner. Start by breaking down each project into smaller tasks. Then, estimate how much time each task will take. Be honest with yourself, because "I'll just do it in an hour" never works out. Add some buffer time because life happens. A realistic timeline will help you stay on track, avoid burnout, and keep your sanity intact. It’s like planning a vacation. You wouldn't book a flight and show up without a hotel, would you?
For instance, painting a room might seem like a weekend project, but it could easily take a few days if you include prepping the walls, priming, and waiting for coats to dry. I once thought I could finish a project in a day, and it took me three. Lesson learned. So, be patient, be flexible, and don’t be afraid to adjust your timeline as you go. Remember, home improvement is a marathon, not a sprint. And it's okay to take breaks, grab a snack, and maybe watch a little TV. You’ve earned it.
Essential Tools and Materials for Home Improvement 101
Essential Tools and Materials for Home Improvement 101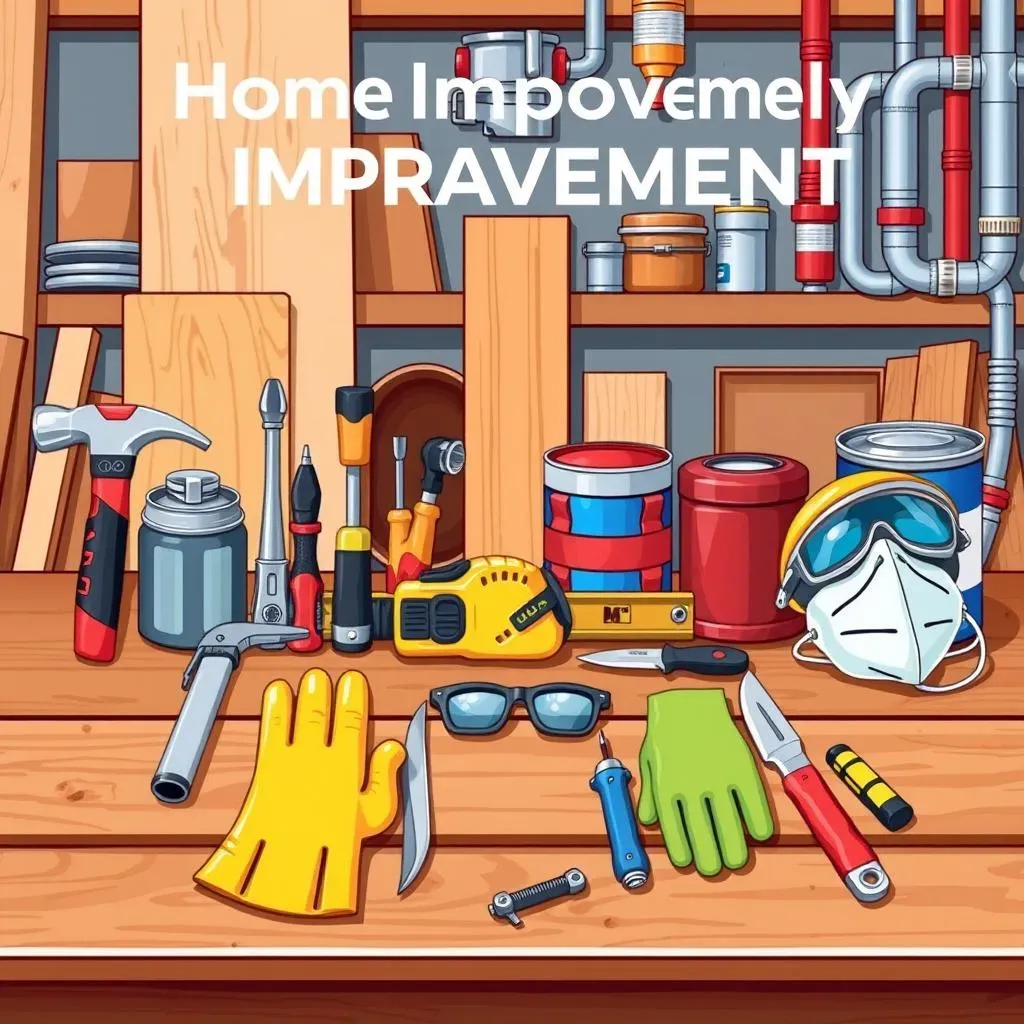
The Must-Have Toolkit
Alright, so you've got your plan, you've got your budget, and now it's time to talk tools. I’m not saying you need to go out and buy every fancy gadget you see, but having the basics is a game-changer. Think of it like this: you wouldn't try to cook a gourmet meal with just a spoon, right? The same goes for home improvement. A good hammer, a reliable screwdriver set (both Phillips and flathead), a measuring tape that doesn't retract every five seconds, and a level, those are your starting points. Oh, and a utility knife, because you'll use it for everything you never thought you would. These are the workhorses of any project, and investing in decent quality will save you a lot of headaches down the road. Trust me, a cheap hammer is more likely to break than a stubborn nail.
Don't get overwhelmed by the sheer amount of stuff out there. Start with the essentials and build your collection as you need it. It’s like collecting trading cards. You start with the basics and then you get more and more specific. It’s okay if you don't own a power drill on day one, you can always borrow one from a neighbor. Or, you know, buy one when you actually need it. It’s all about starting smart and not overspending on tools you might use only once. You are not going to be a professional builder, at least not today.
Safety First: Gear Up!
Okay, tools are cool, but let's talk safety, because nobody wants to end up in the emergency room with a nail in their foot. Safety glasses are not optional, they are mandatory, even if you think you look silly. I’ve seen too many people skip this step and regret it later. And gloves, because your hands are your most important tools, and you don’t want to get splinters or chemicals all over them. If you are doing any sanding or cutting, a dust mask is also a must. Breathing in sawdust is not a healthy life choice, trust me on this one. It’s like wearing a seatbelt in a car, you might think you don’t need it, until you do.
Also, think about your workspace. Make sure you have enough light and good ventilation. You want to be able to see what you are doing and not pass out from fumes. And if you are working with power tools, read the instructions! I know, it’s boring, but it’s better than accidentally sawing off a finger. Safety gear isn't about being overly cautious, it's about being smart and protecting yourself so you can actually finish the project. It’s like wearing a helmet when you are riding a bike. You might not need it, but you’ll be glad you had it when you fall.
Safety Gear | Why You Need It |
|---|---|
Safety Glasses | Protects your eyes from flying debris |
Gloves | Keeps your hands safe from splinters and chemicals |
Dust Mask | Prevents you from breathing in dust and fumes |
Materials: Beyond the Basics
Now, let’s talk about the stuff you will actually use to build, fix, or paint. Depending on your projects, you will need different materials. For painting, you will need paint, brushes, rollers, painter’s tape, and drop cloths. For basic repairs, you will need nails, screws, wood glue, and maybe some spackle. If you are doing plumbing, you will need pipes, fittings, and a wrench. The list can go on and on. The key is to plan ahead and buy what you need. It’s like going to the grocery store. If you go without a list, you will end up buying a bunch of stuff you don’t need and forgetting the things you do need.
Don't be afraid to ask for help at the hardware store. The people who work there usually know their stuff, and they can help you find the right materials for your project. Also, don't be afraid to research online. There are tons of tutorials and guides that can help you figure out what you need and how to use it. It’s okay if you don’t know everything, nobody does. Home improvement is a journey of learning, and that's part of the fun. It is like learning how to play a new instrument. You start with the basics, and you learn more as you go. And sometimes you hit a wrong note, but that’s okay too.
DIY Home Improvement 101 Projects for Beginners
DIY Home Improvement 101 Projects for Beginners
Fresh Coat, Fresh Start: Painting a Room
Okay, so you're ready to get your hands dirty, but maybe not too dirty. Painting a room is like the gateway drug of home improvement. It's relatively easy, it makes a huge difference, and it’s pretty hard to mess up completely. I mean, unless you decide to paint your ceiling bright pink. Start with prepping the walls. That means filling holes, sanding down bumps, and washing off any dirt. It’s like giving your walls a spa day before you unleash the paint. Then, grab some painter's tape and create clean lines, because nobody wants a Jackson Pollock on their trim. Choose a color that makes you happy, and go to town. Two coats are usually better than one, so be patient. And don’t forget to open a window, unless you like being dizzy.
I remember the first room I painted, I was so excited I rushed it. I ended up with paint on the ceiling, on the floor, and even in my hair. It was a mess, but I learned a lot. The key is to take your time, don't rush, and don’t be afraid to make mistakes. It’s just paint, you can always paint over it, right? It’s like learning a new dance move. You might step on someone’s toes the first few times, but eventually you’ll get the hang of it. Plus, there’s something incredibly satisfying about transforming a room with just a can of paint and some elbow grease.
Simple Swaps: Updating Hardware
Ready to make a small change that makes a big impact? Swapping out old cabinet knobs or drawer pulls is like giving your furniture a new set of earrings. It's surprisingly easy, and it can completely change the look of your kitchen or bathroom. All you need is a screwdriver and a little bit of patience. Go to your local hardware store and pick out some new hardware that matches your style. Make sure the screw holes are the same size, or you’ll have a bad time. It's like finding the perfect pair of shoes that go with everything. Once you have your new hardware, it’s as simple as unscrewing the old ones and screwing in the new ones. I’m serious, it's that easy.
I once replaced all the knobs in my kitchen, and I was amazed at how much of a difference it made. It went from feeling outdated to feeling modern and fresh. It's like getting a haircut, a little change makes you feel like a completely new person. It's also a great project if you want to start small and gain some confidence before tackling bigger projects. It’s like learning to play a simple song on the guitar before you start writing your own rock anthem. Plus, it’s a great way to show off your personal style without breaking the bank. You can pick out some quirky knobs or pulls and make your space feel a little more you.
- Measure your existing hardware before you buy new ones
- Don't over tighten the screws.
- Keep the old hardware. You might want to use them again later
Fixing the Little Things: Patching Holes and Cracks
Okay, let's face it, walls get dinged, and holes happen. Maybe you hung a picture and then decided you didn’t like it there. Or maybe your cat thought the wall was a scratching post. Either way, patching holes and cracks is a skill every homeowner should have. It’s not as hard as it looks, I promise. You'll need spackle, a putty knife, and some sandpaper. Start by cleaning the area around the hole or crack. Then, apply a small amount of spackle with your putty knife, making sure to fill the hole completely. Let it dry, and then sand it smooth. It’s like applying a band-aid to your wall. Then you can paint over it.
I used to ignore all the little holes in my walls, thinking they weren’t a big deal. But then I realized that they were making my house look a little neglected. So, I spent an afternoon patching them all up, and I was surprised at how much better everything looked. It’s like cleaning up your desk, it makes everything feel more organized and put together. This is a great project for beginners because it doesn’t require any special tools or skills, and it's a great way to learn how to work with spackle. Plus, it feels really good to fix something that was broken. It’s like solving a puzzle, you feel proud of yourself when you find the missing piece.
Avoiding Common Mistakes in Home Improvement 101
Avoiding Common Mistakes in Home Improvement 101
Skipping the Planning Phase
Alright, let's talk about mistakes, because we all make them, especially when it comes to home improvement 101. One of the biggest blunders I see people make is jumping straight into a project without any planning. It’s like trying to bake a cake without a recipe. Sure, you might end up with something edible, but it's probably not going to be what you were hoping for. Planning is your best friend here. It’s not just about having a budget and a timeline, it’s about knowing what you want to achieve, and how you are going to get there. It's about doing your homework, researching your materials, and understanding the steps involved in your project. It's also about being realistic about your skills and abilities, because nobody wants to start a project and realize they are in over their head.
I once started a bathroom remodel without planning, and I ended up with a half-finished bathroom and a lot of frustration. I had to call a professional to come fix my mistakes, which cost me a lot of time and money. Lesson learned: planning is not a waste of time, it's an investment in the success of your project. It’s like packing for a trip, you wouldn’t just throw random stuff in a suitcase, right? You’d make a list, pack accordingly, and make sure you have everything you need. The same goes for home improvement. So, take a deep breath, grab a notebook, and start planning. Your future self will thank you.
Ignoring Safety Precautions
Okay, we've already talked about safety gear, but it's so important that it deserves its own section in the mistakes department. Ignoring safety precautions is not only a bad idea, it's downright dangerous. I know, safety glasses might not be the most stylish accessory, but they are essential for protecting your eyes from flying debris. And gloves, because splinters are the worst. And a dust mask, because breathing in sawdust is never a good idea. It’s like driving without a seatbelt, you might be fine, but if something goes wrong, you’ll wish you had it. Safety isn't about being a scaredy-cat, it's about being smart and responsible. It's about protecting yourself so you can enjoy your home improvement projects for a long time.
I’ve seen people get seriously injured because they thought safety was optional. I remember my neighbor was using a power saw without safety glasses, and a piece of wood flew up and hit him in the eye. He had to go to the emergency room, and he was lucky he didn't lose his vision. So, please, don't be that person. Take a few minutes to put on your safety gear before you start working. It's not a sign of weakness, it's a sign of intelligence. It's like wearing a helmet when you are riding a bike. You might think you look silly, but you’ll be glad you had it if you fall.
Mistake | Consequence |
|---|---|
Skipping the planning phase | Wasting time and money, project delays |
Ignoring safety precautions | Injuries, accidents, health problems |
Overspending on materials | Going over budget, financial stress |
Overspending on Materials
Another big mistake people make in home improvement 101 is overspending on materials. It’s easy to get carried away at the hardware store, especially when you see all the shiny new tools and gadgets. But before you buy everything in sight, take a deep breath and remember your budget. It’s like going to the grocery store when you are hungry, you will end up buying a bunch of stuff you don’t need. Make a list of what you actually need, and stick to it. Don't buy the most expensive materials just because they look fancy. There are plenty of affordable options that will do the job just as well. It’s all about being smart and not letting your emotions drive your spending.
I once bought a super expensive paint brush thinking it would make me a better painter. It didn't. It was just a fancy brush that cost me way too much money. Lesson learned: the quality of your work depends more on your skills and effort than on how much money you spend on materials. It’s like buying a fancy guitar, it won’t make you a rock star if you don’t know how to play. So, be mindful of your spending, and don't let the allure of new and expensive materials tempt you to go over budget. It's okay to splurge on a few things, but don't break the bank on things that don't really matter.
Underestimating the Time Involved
This is a big one. We all think we can finish a project in a day or two, but reality often has other plans. Underestimating the time involved is a classic mistake in home improvement 101. It’s like thinking you can run a marathon without training, you will probably not make it to the finish line. Home improvement projects always take longer than you think. There are always unexpected delays, problems, and things that go wrong. So, be realistic about your timeline, and add some buffer time to your schedule. It’s better to finish early than to be rushing at the last minute. It’s also important to be flexible and adjust your timeline as you go, because things rarely go exactly as planned.
I once thought I could paint a room in a weekend. It took me a week. I had to deal with unexpected problems, like having to sand down a wall that had uneven paint. It took longer than I thought, but I learned to be more realistic about my time estimates. It’s like planning a vacation, you wouldn’t book a flight and show up without a hotel, would you? You'd make sure you have enough time to do everything you want to do. The same goes for home improvement. So, be patient, be flexible, and don’t be afraid to adjust your timeline as you go. It’s okay to take breaks, grab a snack, and maybe watch a little TV. You’ve earned it.
- Always plan your project before starting
- Always wear safety gear
- Always stick to your budget
- Always add buffer time to your timeline
Wrapping Up Your Home Improvement 101 Journey
So, you've made it through the basics of home improvement 101. You now know that it’s not some scary monster under the bed, but a series of manageable steps. From planning to picking the right tools, and even surviving those first DIY projects, you've got the knowledge to make your house a home. Remember, it's okay to start small, and it's definitely okay to make mistakes – that's how we learn. The key is to keep going, keep learning, and keep making your space your own. Now go on, grab that hammer, and make something awesome happen.